1. Stake out your area

Begin by staking out the area for your project. Check with your local utilities company to ensure that there are no cables or pipes by calling 811. Excavate the area to a depth of 4-7 inches below the desired final grade. To assure proper drainage, the base should be sloped away from buildings and towards pavement edges. Remove all surplus unsuitable sub-base material. Compact the area that has been cleared.
2. Geotextile Fabric
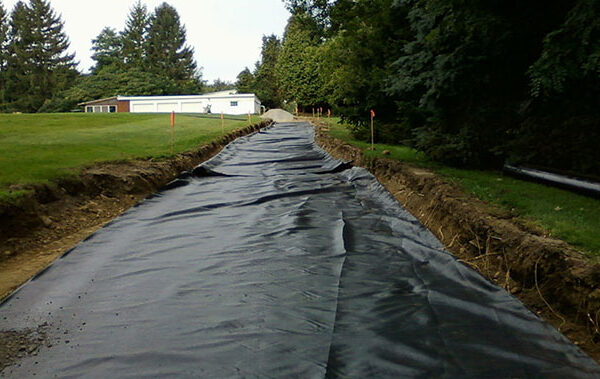
Furnish and place geotextile fabric across the entire area that you will be laying pavers. Cut off any excess fabric using scissors or a utility knife. If you’re working with multiple sheets of fabric, ensure that each section overlaps by 6 to 12 inches to prevent weed growth.
3. Paver Base
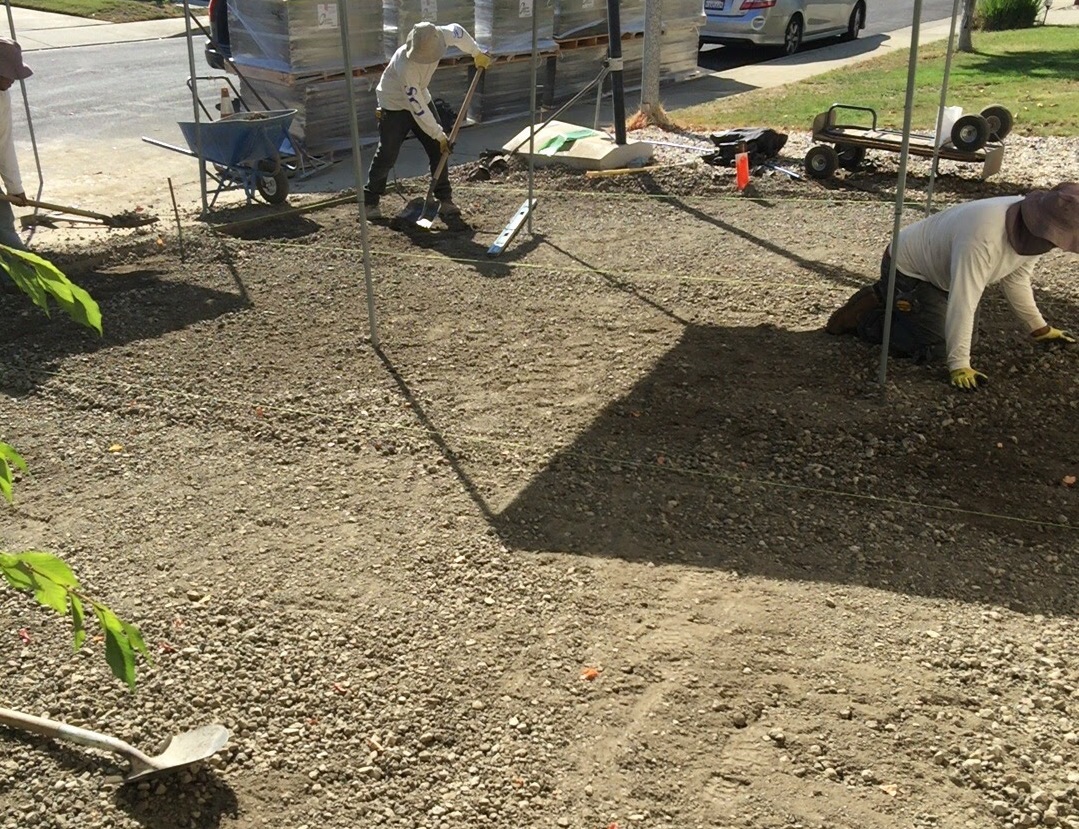
Backfill the area with All Purpose Gravel or crushed rock. The depth of the base should be 3-4 inches for pedestrian walkways and patios, 6-8 inches for light vehicular traffic and 10-12 inches for heavy vehicular traffic or otherwise as directed by the Site Engineer, Architect or Landscape Architect. The road base material should be compacted to 95% density.
4. Leveling Sand

Spread Paver Sand over the compacted base to a uniform depth of 1-1.5 inches up to the edge (Edge restraints can be of various types, e.g. concrete, wood, plastic pavement edging, etc.). Wet the sand with a fine spray and screed the sand smooth and level using a 2×4. The screeded sand should not be disturbed until the pavers are laid.
5. Lay Pavers
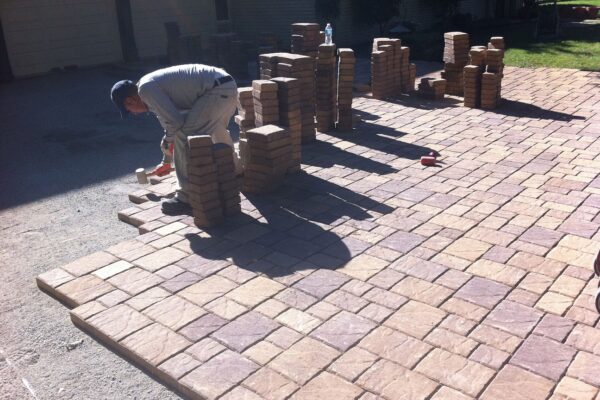
Install the concrete pavers hand tight in the desired pattern 1/4 to 3/8 inches above final grade. Care should be taken to select the desired color distribution, keeping in mind that even solid colors have some variation in color and texture. The pavers are made with integrated ribs to create a minimum joint spacing necessary for sand to enter. Use a paver splitter or a diamond blade masonry saw if cuts are necessary.
6. Add Sand to Joints
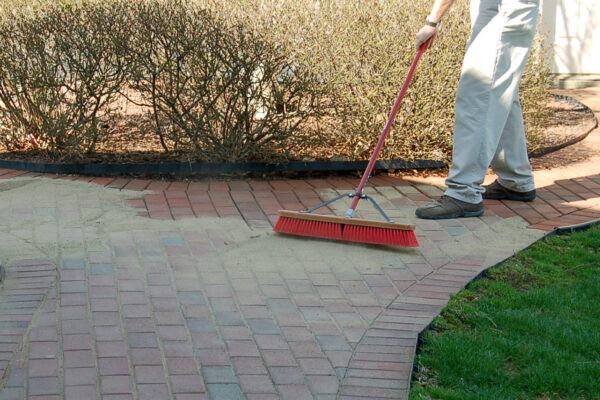
Once the pavers are installed use Jointing Sand or Polymeric Sand to fill the joints between the pavers. Depending on which sand you use, the installation process will differ. Using a Polymeric Sand will add an extra level of protection against washout, insects, and the growth of weeds. Jointing Sand will generally need to be touched up every couple of years while Polymeric Sand can last up to 15 years depending on the environment.
Jointing Sand
Check paver alignment and make sure the paver surface is smooth and flat. If a paver has settled lower than the surrounding surface, carefully remove the paver and add Jointing Sand to the sand base. Replace the paver and tap with a rubber mallet or similar tool until the paver is level with the surrounding pavers. Sweep Jointing Sand into the paver joints. Dampen the sand with a fine spray. Repeat as needed to completely fill the joints. It may be necessary to fill the joints several times during the first two weeks as the sand settles and compacts.
Polymeric Sand
Polymeric Sand requires a more precise installation. Read the Technical Data Sheet for installation details and considerations before beginning. Start by spreading the Polymeric Sand with a hard-bristle broom making sure to completely fills the joints. Do not use with other materials in the joints. Leave a layer of Polymeric Sand on the surface to aid in the vibrating and consolidation of Polymeric Sand into joints.Vibrate the Polymeric Sand into the paver joints using a vibratory plate compactor. A rubber pad is recommended.Sweep off excess sand from the paved surface, first with a hard-bristle broom, then a soft-bristle broom. Take care to leave the height of the Polymeric Sand at least 1/8″ (3 mm) below top of paver’s surface or 1/8″ (3 mm) below the chamfer. Shower for a minimum of 30 seconds for 30 sq. ft. (3 sq. m.) or until the sand repels the water and the water starts to accumulate on the joints.
7. Clean and Seal (Optional)
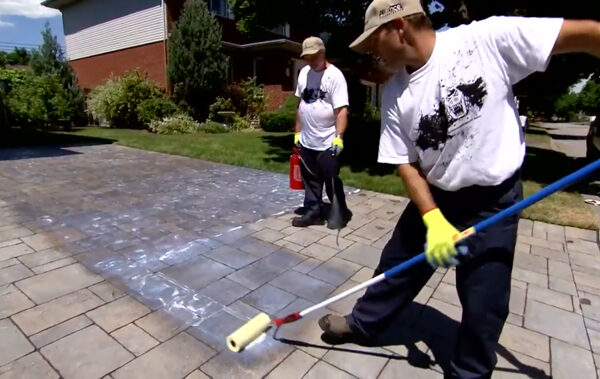
The pavers are ready for use. A cleaner may be applied a minimum of 90 days after completing Installation. This is a necessary step before any sealer is applied. If using sealer, wait at least 72 hours after cleaning. The application instructions of sealer will vary depending on the product. Read the product-specific directions carefully before starting.